For this tutorial, I'm using Photoshop 7, but I know Gimp has this ability as well, and is actually easier to do.
 This tutorial also assumes that you have three frames completed that you want to use for your avatar.
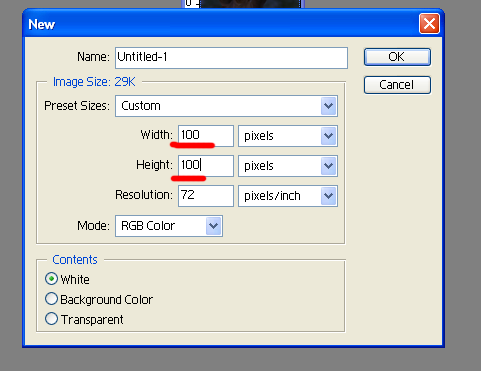
To start off with, create a new file in Photoshop, and make the size 100 pixels wide and tall.
Open your completed frame files, and make sure that they've been resized to 100 pixels by 100 pixels. Copy each one, and paste it into the new avatar file. In the example, I've merged one layer with original background, but it doesn't really matter how you do it, as long as each picture is it's own layer.

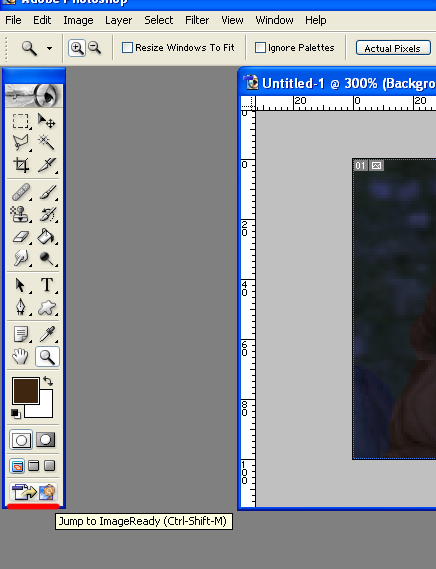
Now click the button at the bottom of the main tool bar/box, to switch the file over to Adobe Image Ready.
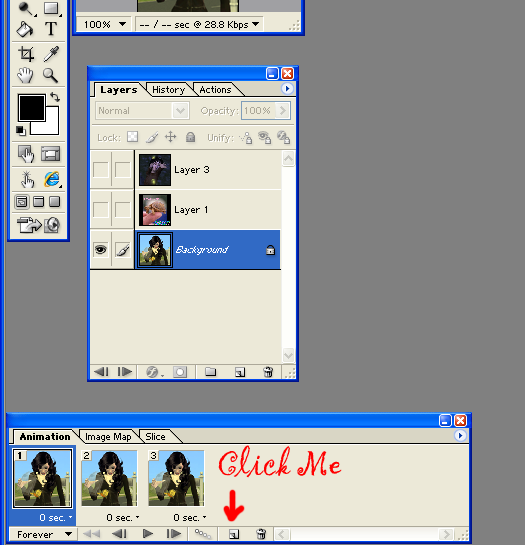
This is basically it's going to look like this.
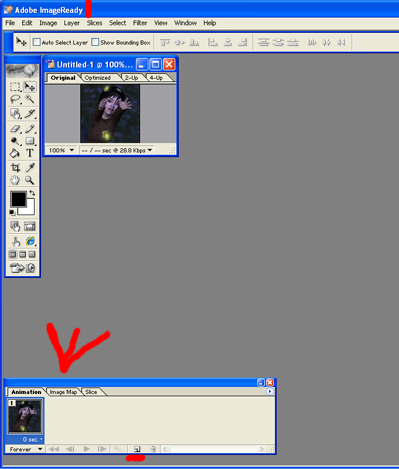
Click the little duplicate frame button to make the total number of frames you want your avatar to have.
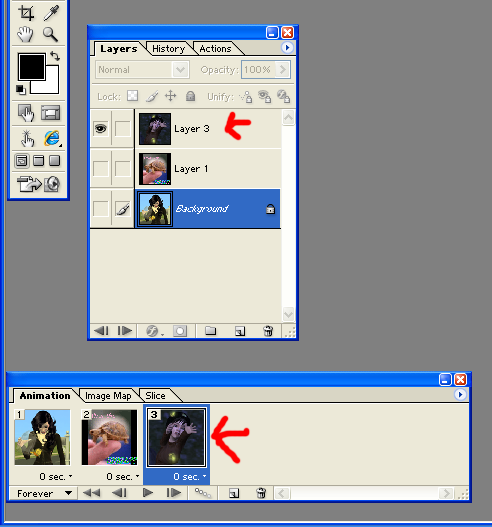
Now, click each frame, and deselect any frames that you don't want to show. Do this for each frame.
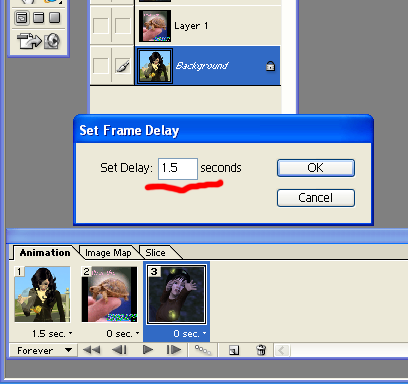
Now, on each frame, you need to change the frame delay time. Click the delay time under the frame to change it. Click other and then enter 1.5 seconds and hit ok. I set all mine to 1.5 seconds, but you can fiddle with the time if you want. Make sure to change this on each frame. At this point, you can click play on the preview screen, and you can see the avatar animation to make sure you like it.
Now you're going to save your avatar. Go to the file menu, and click Save Optimized As...
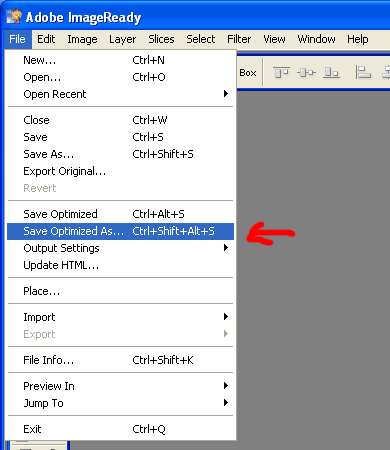
It will automatically save as a .gif file, and you want to leave it as that so it will preserve the animations. Save it wherever you like and then you're done! Upload and have fun!!
Here's how the test one came out.